
In the last five years I have been fortunate to inherit two boxes of tools that belonged to my great grandfather. He was trained as a boat builder in Cornwall, England, but eventually moved to the states where he became a house carpenter. Most of his tools are fairly common; socket chisels, a few gouges, layout tools, a backsaw, etc. There are a couple of real gems from his boatbuilding days though. Every couple of months I get some inspiration up and tune one of his tools to replace some of my less cherished modern, plastic handled equivalents. Lately I have been cleaning up a couple of his chisels.
 |
| 1/2" chisel with a hump across its width. |
I start tuning up a chisel by lapping the back on a granite plate with 150 grit sandpaper adhered to it. I am no fan of lapping and I will do pretty much anything I can to minimize the number of monotonous hours in my life spent making things flat by rubbing them back and forth on a stone. The picture above shows the results of lapping one of these chisels 20-50 times. This chisel had a hump that ran down the middle of the back from the edge to the socket, probably from years of sharpening on dished out oil stones. In my experience this is pretty common with old chisels. A couple of months ago I found that I could use my bench grinder to reduce my hours of lapping misery.
 |
| Hollow ground back of a 1" chisel. |
By lightly grinding the center section of the back I create a concave surface that references easily on my stones. It also reduces the total surface area that I am abrading and quickens the flattening. The grinding is only a couple of thousandths of an inch deep and will lap out from repeated honing over time. In my experience, it is easy to flatten concave surfaces, and a little squirrely trying to flatten convex surfaces. This is true whether I am flattening a wide board with a handplane or the sole of the handplane with abrasive paper mounted on a granite reference plate. In most situations flattening begins, for me, with creating a slight concavity.
 |
| Setting up for grinding. |
This is the position that I use for grinding the hollow in the back. In the photo the grinder is off. The tool rest is moved close to the grinding wheel and angled steeply. The chisel then rides in the vee shaped gap between the top edge of the tool rest and the grinding wheel. The chisel is angled somewhat down. I eyeball to see that the center of the back is touching the wheel, move the chisel in and out, and then check the scratches from the wheel to see that it is touching where I want it to be.
 |
| Scratches right along the center. |
 |
| Results. |
Above are the results straight from the grinder. You can see that I got quite close to the left edge, closer than I would like. This is the narrowest chisel that I have ground like this. Wider is much easier. To the granite plate.


Twenty strokes on the reference plate and the first inch of the blade is flattened at the cutting edge and down the sides. I think I gave this one a couple more licks before moving up through the grits.
 |
| Polished to P600. |
That entire process took under twenty minutes. I have a great way to grind short stubby chisels like the one inch chisel pictured above and below, which I will save for another time. For now I will just say that I prefer to hollow grind my chisels, with some exceptions for particular tasks or specialty chisels. I find hollow ground chisels very easy to maintain so they are always sharp when I reach for them.
 |
| Long paring handle on another vintage chisel. |
Above is another 1 1/4" socket chisel from my great grandfather with a replacement handle that I made. The handle is 12 inches long. I think of this tool as a miniature slick. It hangs on the wall right next to my bench and I use it constantly. If you have never turned replacement handles for socket chisels, you are missing out big time. I think it is the most instant gratification woodworking that is possible. It is also a great use for scraps of exceptional wood that are too small for anything else. The handle above is ribbon mahogany that was a stair tread that I pulled out of a dumpster.
 |
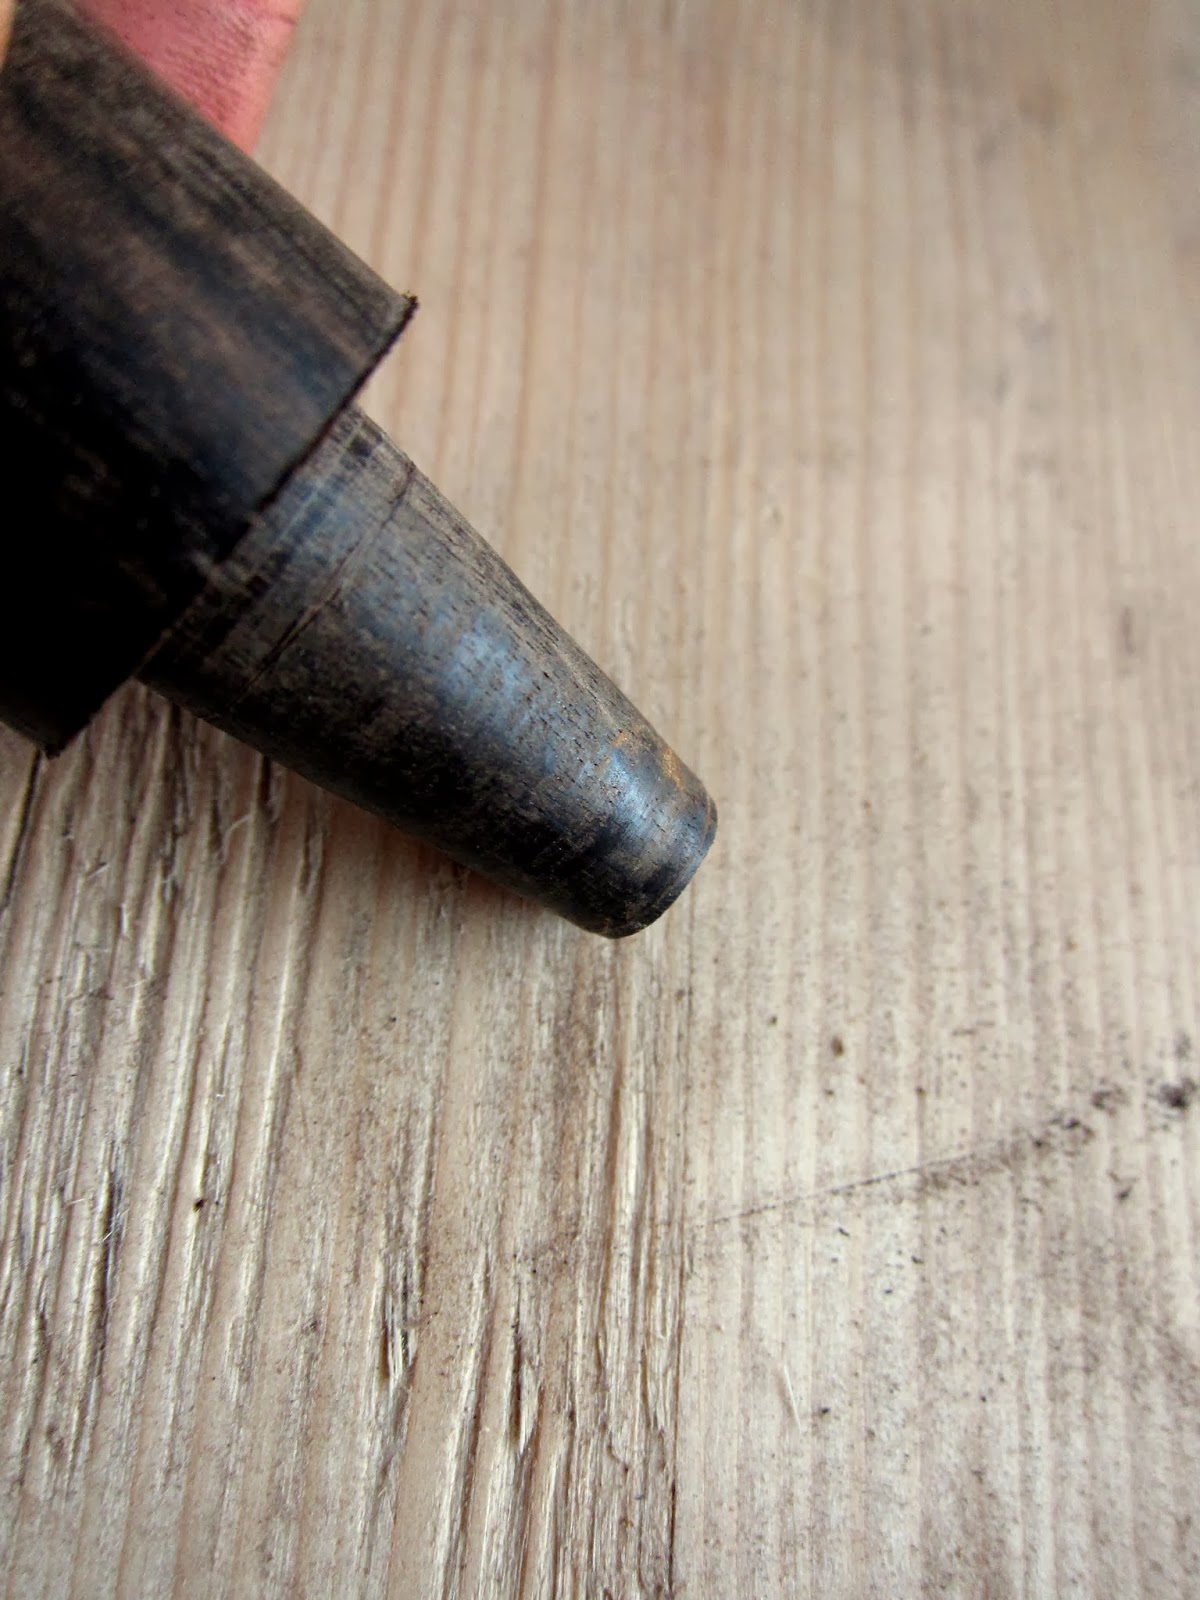
| Where socket joins handle. |
I like to leave a 1/8" gap where the taper that fits into the socket continues before stepping up the diameter of the handle to match the outside diameter of the socket. This gap allows for the handle to slide further into the socket without butting up against the shoulder as the handle size shifts with the relative humidity of the seasons.
 |
| Handle blank chucked in the lathe |
 |
| Roughed down to 1". |
I wanted a short handle for the one inch chisel that I tuned up. I had a macassar ebony offcut that was badly checked. I was just able to get a piece big enough to get a one inch diameter handle out of it. The piece was a just over five inches long. I started by roughing down the blank to one inch diameter.
 |
| Test fitting the taper. |
Next I created the taper that fits into the socket. I started by measuring the depth of the socket with a narrow ruler. I transferred that measurement to my handle blank while it was spinning. Next, I measured the inside diameter of the socket at the opening and used a parting tool to size the top of the tapered section of my handle. Then I guessed at the dimension of the narrow portion of the socket and parted the narrow end of the handle to that dimension. Back at the lathe I connected the dots with a spindle gouge and then tested the fit in the socket.
 |
| Look for the shiny spots where the socket is rubbing. |
During the test fit I try to wiggle the handle to tell whether the taper is too big at the bottom or top. I also spin the socket around the handle and when I remove it I look for the spots on the handle that were rubbing. These are the high spots and I remove incremental amounts of material from the high spots before re-testing the fit. In the above picture, notice the high spots at the narrow end of the handle and also a ring of contact towards the top. There was a burr on the top edge of the socket that was preventing the rest of the taper from seating properly. I ground the burr away and then tested the fit again.
 |
| A couple rounds of test fitting later... |
After a few more trial and errors I had the fit that I wanted and the chisel slid to its final position on the handle. I like chisel handles to be a straight one inch diameter that taper over the last two inches to a diameter that is continuous with the outer diameter of the socket. To create this shape I part the point of the working part of the handle nearest to the socket to a dimension slightly larger than the outer dimension of the socket. Then I mark a point with a pencil two inches from the shoulder of the handle and fair the shape from the one inch diameter portion of the handle to the parted diameter adjacent to the shoulder.
 |
| Sanded. Chamfered. Finished. |
Once the basic shape is there I sand the handle to 600 grit. To get rid of the marks from the drive center, I part the last 1/8" of the handle to a diameter just larger than the drive center. Then I skew a chamfer onto what will be the butt of the handle. I like applying finish to anything that I can while it is spinning in the lathe. I apply finish, let it sit for 30 seconds or so. Then wipe off, generating heat with the cloth. For this handle I used three coats of tru-oil applied one after the other. This left a nice satiny finish. The last thing I do is to saw off the nub on the end of the handle and clean up the end with another chisel. Then I fit the chisel to the handle and rap the butt of the handle with a hammer to seat the handle in the socket.

The grip portion of the handle is four inches long. The macassar ebony feels amazing. It is so smooth. I reach out many times each day just to touch it. I want to make everything out of macassar ebony. I don't use hoops on socket chisel handles to prevent the ends from splitting. I do strike them with steel hammers. Sometimes they break. They are very easy to replace.
One of the things that I love about using antique tools is that they remind me that I am on a continuum of woodworkers reaching far into the past. The tools that I have inherited through my family give me that feeling plus ten. I am glad to have them in my care for this time. Hopefully their next owner won't wonder, "What kind of bonehead ground out the backs of these chisels?"


